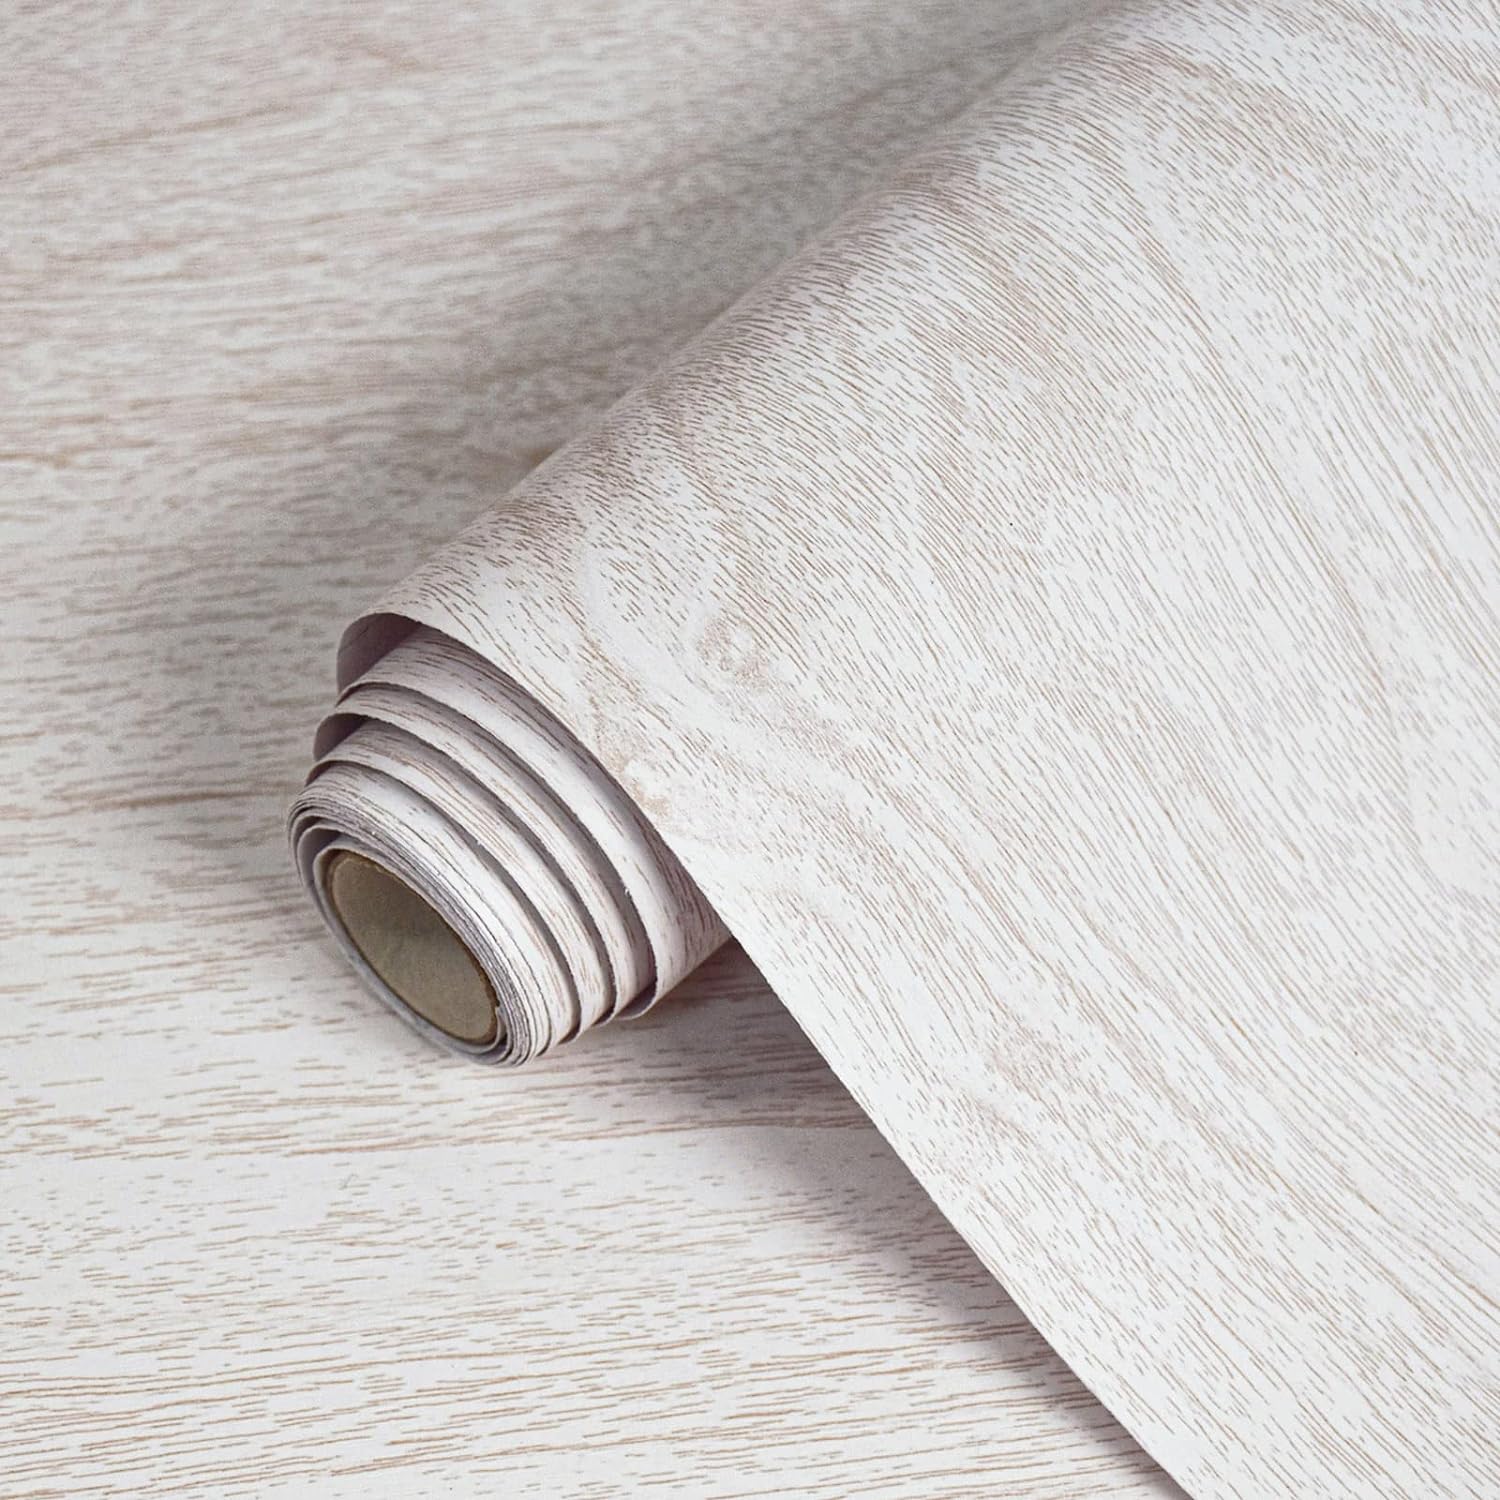


Transform Your Space with Wood Contact Paper: A Comprehensive Guide
Are you searching for a quick, affordable solution to revamp your home decor? Look no further than wood contact paper! This versatile product is perfect for enhancing any area of your home, from the kitchen to the living room. In this article, we will explore its materials, features, applications, installation process, and more. By the end, you’ll understand why wood contact paper should be your go-to choice for DIY projects.
What is Wood Contact Paper?
Wood contact paper is a self-adhesive vinyl material designed to mimic the appearance of real wood. With a standard roll size of 17.7×118 inches (45 cm×300 cm), it covers approximately 14.5 square feet. The upgraded thickened design ensures durability, making it waterproof and easy to clean. But that’s just scratching the surface!
Why Choose Wood Contact Paper?
1. Affordable Way to Upgrade Your Space
High-quality wood contact paper offers an affordable alternative to expensive home renovations. Instead of spending thousands on new furniture or extensive remodeling, you can achieve a similar aesthetic for a fraction of the cost.
2. Wide Range of Applications
From covering kitchen cabinets to updating furniture pieces, wood contact paper is suitable for various surfaces. Its versatility allows you to express your creativity in home decor.
3. Eco-Friendly Option
Using contact paper reduces waste, as you’re giving old surfaces a new life instead of discarding them.
4. Easy to Clean
Unlike traditional wood finishes, wood contact paper is very easy to maintain. Simply wipe it down with a damp cloth to keep it looking fresh.
Features of Wood Contact Paper
Durability and Quality
When selecting wood contact paper, it’s crucial to choose a high-quality product. Upgraded and thickened vinyl offers enhanced durability, making it resistant to wear and tear.
Grid Lines for Precision
A fantastic feature of wood contact paper is its back grid lines. These lines help you measure and cut accurately, ensuring you achieve precise results.
Self-Adhesive Design
Say goodbye to additional glues or messy applications! The self-adhesive nature of wood contact paper makes installation simple, offering a hassle-free experience.
How to Install Wood Contact Paper
Step 1: Gather Your Materials
To ensure a smooth installation, gather the following tools:
- Scissors or a utility knife
- A measuring tape
- A straight edge or ruler
- A smoothing tool (like a credit card or a wallpaper smoother)
Step 2: Clean the Surface
Ensure the surface where you will apply the contact paper is clean, smooth, and dry. Dust and grease can prevent proper adhesion.
Step 3: Measure and Cut
Using the grid lines on the back, measure and cut the contact paper to the desired size. Make sure to leave a bit of extra material on each side for adjustments.
Step 4: Peel and Stick
Start from one corner, gradually peel off the backing while pressing the contact paper against the surface. Use your smoothing tool to eliminate air bubbles and ensure a flat finish.
Step 5: Trim Excess
Once applied, trim any excess edges for a polished look.
Where Can You Use Wood Contact Paper?
The great thing about wood contact paper is its adaptability. Here are some areas where you can use it creatively:
1. Kitchen Cabinets
Transform dated kitchen cabinets into stylish statement pieces effortlessly.
2. Tabletops and Counters
Investing in a new table? Instead, apply wood contact paper for an appealing surface.
3. Furniture Makeover
Breathe new life into old furniture with wood contact paper. It works wonderfully on drawers, bookshelves, and dressers.
4. Home Decor Accents
Use smaller pieces to create highlight areas, such as picture frames or wall art.
Pros and Cons of Wood Contact Paper
Pros:
- Cost-effective: A budget-friendly option compared to full renovations.
- Easy installation: No professional help needed; you can do it yourself!
- Versatile: Suitable for various surfaces and applications.
- Non-damaging: Easily removable without damaging surfaces.
Cons:
- Not as durable as real wood: While it mimics the look, it can’t replicate real wood’s endurance.
- Limited texture: The flat finish may lack the depth and texture of real wood.
- Measurement precision is critical: Cutting mistakes can affect the overall look.
Are There Any Maintenance Tips?
1. Regular Cleaning
Keep your surfaces looking like new by regularly wiping them with mild soap and water.
2. Avoid Harsh Chemicals
Stay away from abrasive cleaners, as they can damage the vinyl surface.
3. Inspect for Damage
Regularly examine your contact paper for any signs of wear or lifting edges, and address these issues promptly to avoid larger problems.
Conclusion
In conclusion, wood contact paper is an excellent choice for anyone looking to enhance their home decor without breaking the bank. With its affordable price, easy installation, and versatility, it’s a smart option for DIY enthusiasts and home decorators alike. Whether you want to refurbish old furniture or update your kitchen cabinets, wood contact paper provides an effective solution. So why not give it a try?
FAQs
1. What surfaces can wood contact paper be applied to?
Wood contact paper can be adhered to any smooth, clean surface, including wood, glass, and metal.
2. Is wood contact paper waterproof?
Yes, high-quality wood contact paper is waterproof and easy to clean, making it ideal for kitchens and bathrooms.
3. Can I remove wood contact paper easily?
Absolutely! Wood contact paper can be removed without damaging the underlying surface if done carefully.
4. How do I prevent air bubbles during installation?
Use a smoothing tool to gently press down and push out any trapped air as you apply the contact paper.
5. Can wood contact paper be used outdoors?
It’s best to avoid outdoor applications as prolonged exposure to sunlight and moisture can damage the product.


